
A pitched roof is a roof that has been installed with a slope. The slope of a roof can vary in angle, running from the apex of a building (from its ridge board) down to the base of the roof (to its eaves).
Rising from the horizontal span, the angle determines the steepness, which is calculated in a couple of ways and represented as either a ratio or a degree. For all roofs, measuring this is a necessity, as it informs your choice of roofing, the length of rafters and how your materials are measured and cut.
Unlike a flat roof, or one with a shallow pitch, a pitched roof will improve water run-off into gutters and reduce the build-up of debris, making sure your roof lasts a lot longer with much less need for ongoing maintenance.

Article Contents
Types of pitched roofs
Single pitched roof
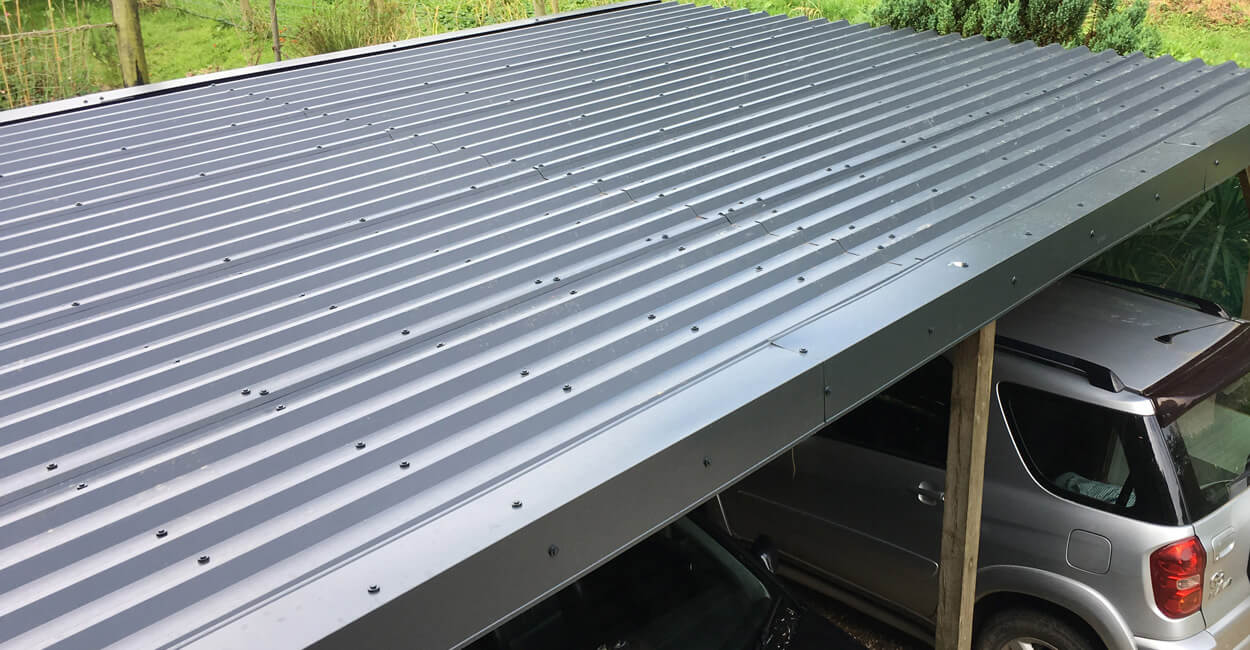
A single-sided roof has one pitch measurement, for example, this could be a lean-to building, a single-sided shed roof, or a garage roof. On single-pitched roofs, there are no adjoining sides to the apex (ridge board).
A single-pitch roof structure provides a faster installation process due to only one side of the roof requiring construction. The increased vertical rise of a roof area will increase the materials required and make installation more difficult than lower pitched roofs.
Dual pitched roof
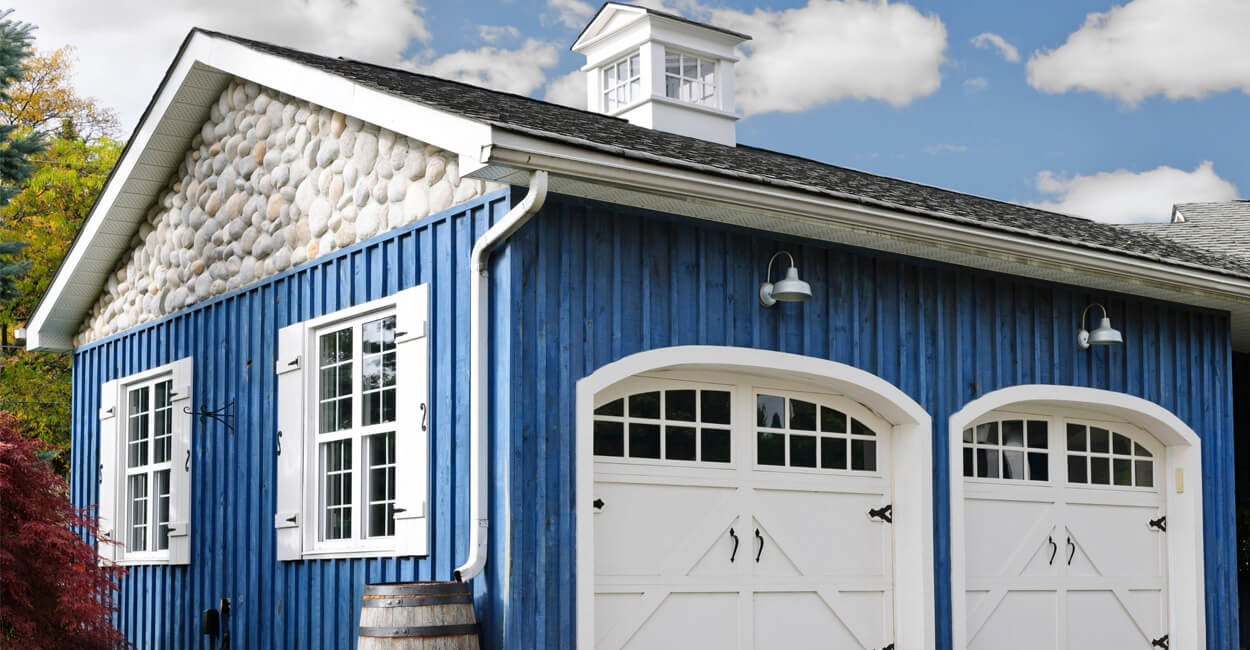
Dual pitched roofs have two sides sloping down from either side of the apex (the topmost section of the roof truss or ridge board) towards the bottom corner, or eaves, of the roof.
Due to the design of these roofs, benefits can include having more loft space that increases further with the size of the roof and a greater pitch angle. Additionally, these types of roofs are more structurally sound due to the fixed triangular design of the roof covering and timber truss supports.
Pitched roofs are commonly installed using a system of rafters, purlins and trusses constructed out of timber. The latter will be preferred for larger building types, providing improved structural support across the span of the roof and for a gable roof end.
How is roof pitch calculated?
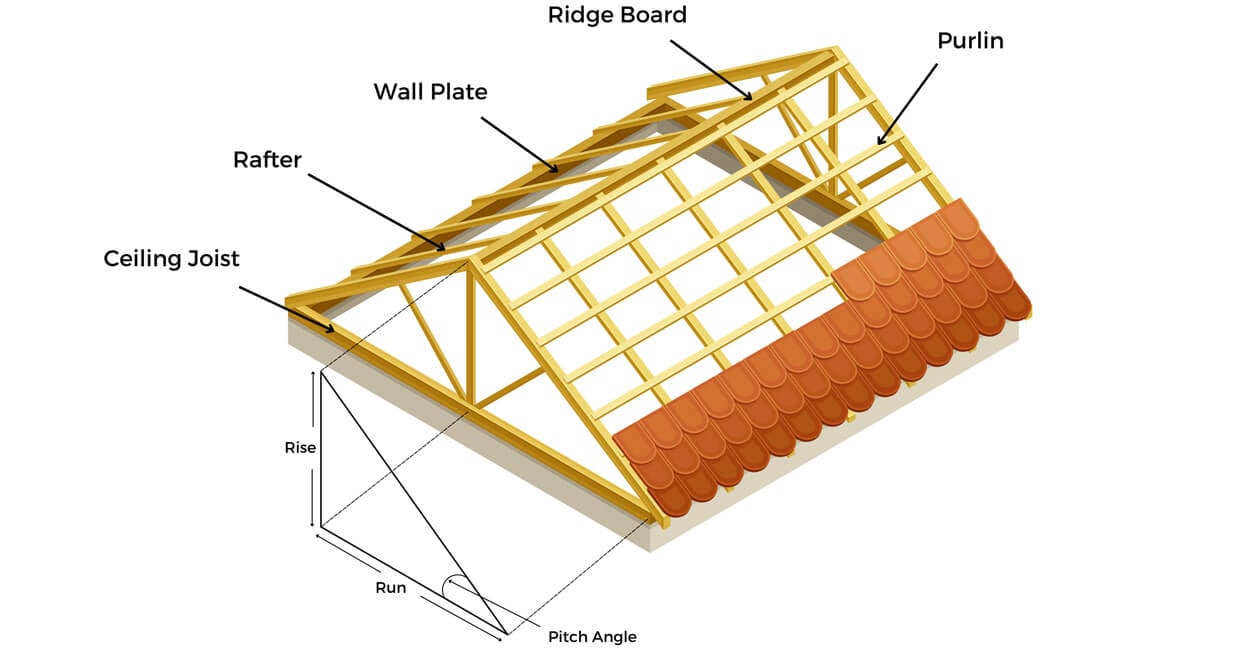
To calculate roof pitch, you will need good access to your roofing structure to take the measurements of the horizontal span, or run, from the lowest corner of the roof to the central point directly under the apex (ridge board).
Next, take the vertical height, or rise, from the central point under the apex to the roof's ridge board. The vertical rise divided by the run will give you the tangent. We recommend using the online roofing pitch calculator at Calculators.io to work this out quickly for you.
Roof pitch is displayed either as a degree or a ratio, for example, 14 degrees, or the equivalent ratio of 3:12. The latter calculation shows for every 12 inches along the horizontal span, or run, the roof rises by 3 inches vertically.
What is the minimum angle for a pitched roof?
The minimum angle for a roof is generally considered as 4 degrees, or just under 1/12. Only certain materials will be able to install down to this due to reduced water run-off efficiency and stability, so it's important this angle is calculated before buying any materials.
Box Profile Roofing Sheets can be installed down to a minimum 4-degree pitch, which makes them ideal for a lean-to roof, single-sided garage roofs, or sheds with a nearly flat roof. Other options include Corrugated Roofing Sheets which can be installed down to 10 degrees and Tile Effect Roof Sheeting which can be installed down to 12 degrees.
Find out more about our range of Roofing Sheets and which is the best match for you via our website, ordering a FREE Sample, or by calling a member of our friendly sales team on 01837 659901.
Step by step - Constructing a pitched roof
How to build a pitched roof for a shed
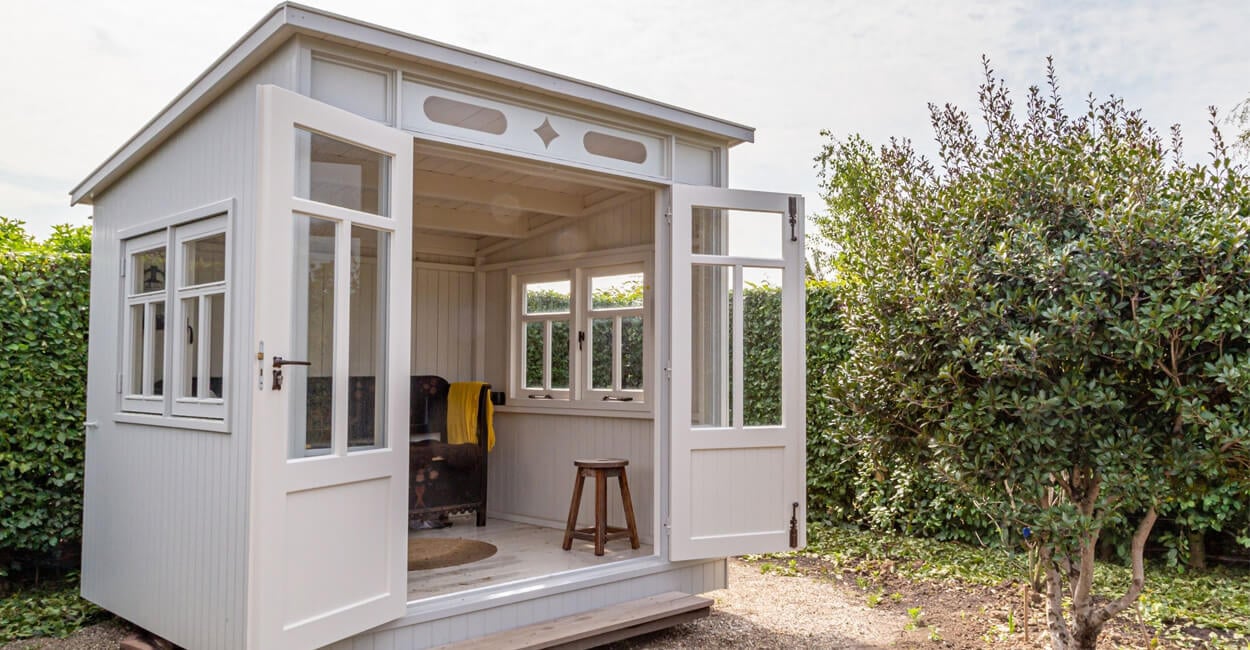
Single pitch
Step 1 - Check planning permission
For any new building project, start by checking whether or not you require planning permission for your shed. We discuss this in our planning permission article.
step 2 - Measure the roof
Measure the length and width of your shed roof to determine the number of materials that will be needed and the overall shape. Take into account the overlap of roof sheets, and check the manufacturer's recommendations to determine the amounts.
step 3 - Buy materials
The angle of your roof will determine which materials will be best, as some, for example, Corrugated Roofing Sheets, will require a minimum of 10 degrees (just over 2/12).
Our roofing calculator will help you work out how many materials will be required for a single-sided roof, along with quantities, fixings and flashings.
We recommend checking you have the required PPE, as well as either mastic lapping tape for Box Profile and Corrugated Roofing Sheets, or silicone sealant for Tile Form Roofing.
step 4 - Install rafters and purlins
Secure your timber rafters from the barge board to the ridge board, at distances of 30cm-60cm apart. Allow for enough overhang at the eaves (the lowest end) to allow for effective water run-off.
When using steel roofing sheets, Purlins will need to be installed across the width of the roof, crossing and securing onto the rafters to prevent the sheets from flexing in the wind. Purlins need to be installed at a maximum of 1.2 metres apart for 0.7mm thick sheeting, and up to 1 metre for 0.5mm thick sheeting.
step 5 - Install roof materials
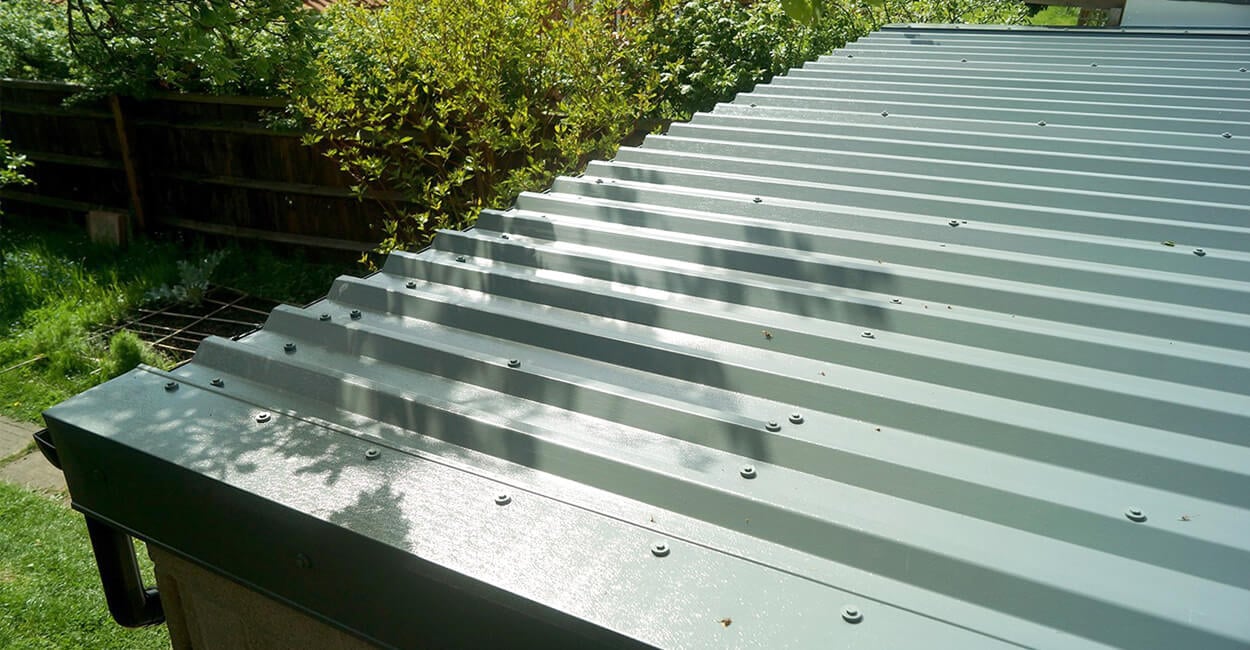
Install the roofing sheets onto the purlins using the recommended fixings, whether you are installing onto steel or timber purlins.
Foam fillers are recommended for metal roofing sheets to go underneath the eaves to add a layer of protection from insects, pests and the weather.
step 6 - Finishing touches
Install corner Barge Flashings along the side edges of the roof for added aesthetics and protection. Custom fascia trim flashings are also a great addition to complete the look.
Dual pitch
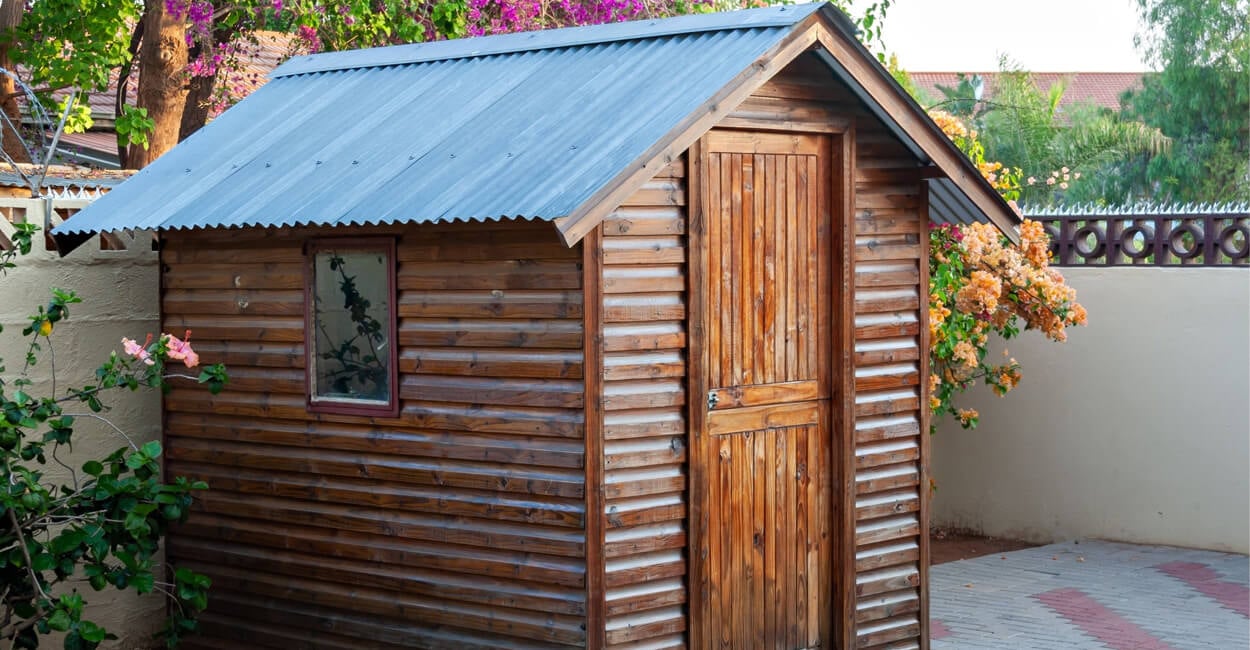
Step 1 - Measure
Start by working out the square meterage of your roof by multiplying the horizontal length with the length of your rafters. For dual sided roofs, this figure will be doubled. Alternatively, use our roofing calculator to work this all out for you.
Step 2 - Buy materials
Build up your shopping list to include fixings, purlins, rafters and PPE (read our article on shed roofing options).
Depending on the size of your shed, this will determine how many roof trusses or rafters you will need to be able to support your roof.
For most standard sized garden sheds (e.g. 8x6 feet), rafters can be installed from the base of your roof to the apex ridge board, instead of using trusses. Common rafters use timber 2" by 4" sized boards.
Step 3 - Install braces
For small shed roof builds, permanent bracing will likely not be required as the gable ends will be built as part of the wall.
Step 4 - Include purlins
If you plan on installing roofing sheets, include horizontal timber or steel Z Purlins to prevent the steel sheets from flexing. Purlins will need to be fixed to the rafters at a maximum of 1.2-metres apart (0.7mm thick sheets), or 1 metre apart (0.5mm thick sheets).
Step 5 - Install roofing materials
Install roofing materials once your rafter and purlins are in place. Lap metal profiled sheets by one profile (when choosing Box Profile or Tile Form) and one and a half profiles for Corrugated Sheeting. Secure using appropriate fixings. Allow for overhang at the eaves.
For full details on installing steel sheet roofing material, visit our Roofing Help & Advice section.
How to build pitched roofs for a garage
Single pitch
Step 1 - Order materials
You will want to consider the design of your garage roof compared to the surrounding areas to help it blend in or contrast the local area. Whether you are installing an enclosed garage or an open-sided carport, the first step is measuring the width and depth of the roof.
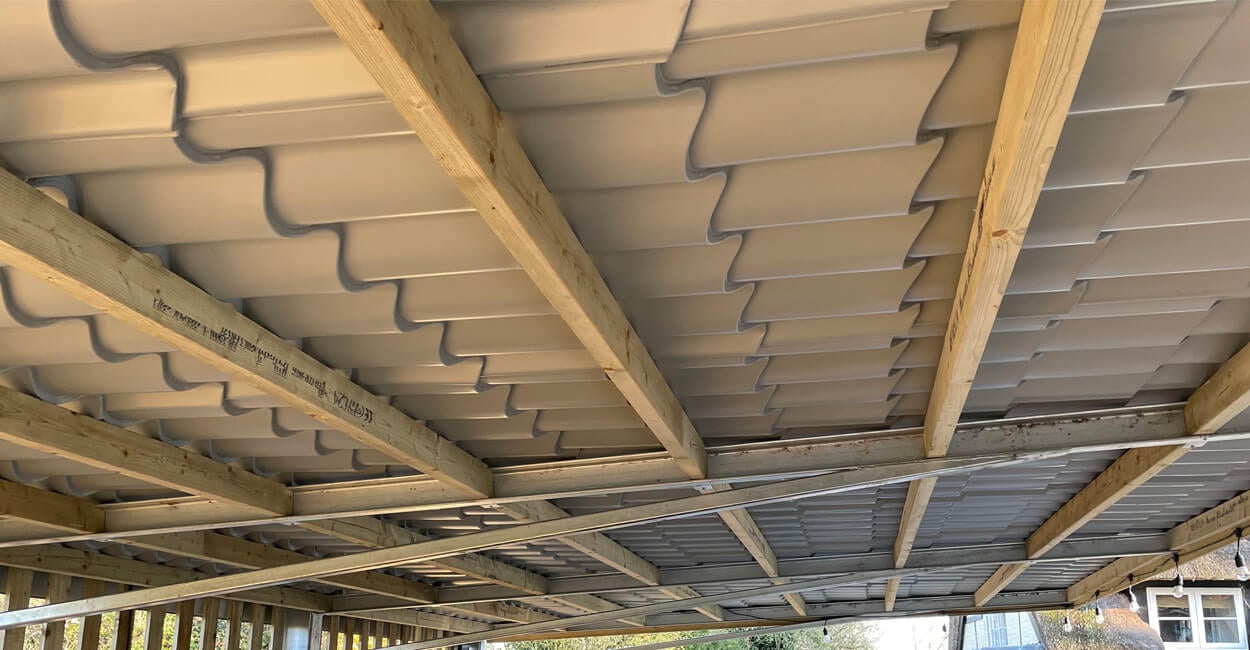
Step 2 - Build ceiling joists and rafters
Construct the initial line of rafters according to the angle of the roof and cut joists accordingly. Secure the ends of the rafters to the wall plates at the eaves and to the ridge board.
Step 3 - Include purlins
Much like a shed roof, if you plan on installing Roofing Sheets, include horizontal timber or steel Z Purlins to prevent the steel sheets from flexing.
Step 4 - Install roofing
Starting from one corner, work your way across the roof, overlapping steel sheeting by one profile for Box Profile or Tile Form, and 1.5 profiles for Corrugated, and securing with stitcher screws and fixings, as well as silicone sealant for Tile Form sheeting or mastic lapping tape for Box Profile or Corrugated.
Dual pitch
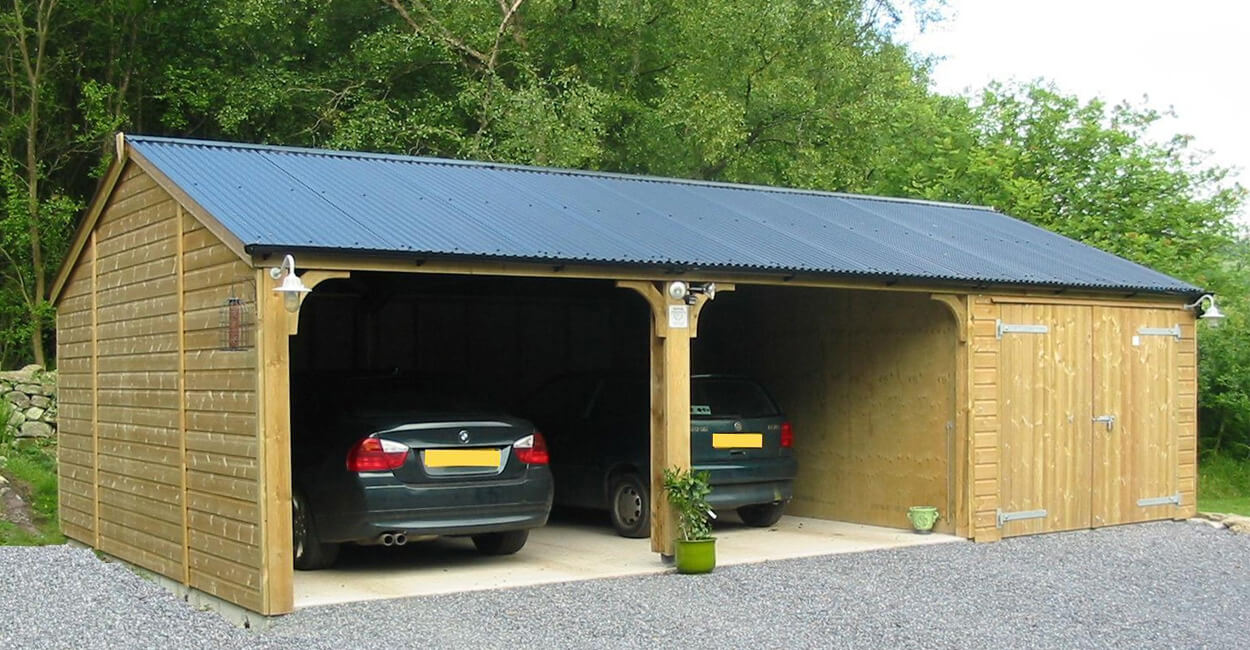
Step 1 - Measure and buy materials
In a similar fashion as above, the shape of the roof is measured to account for both sides of the building with the same dimensions.
Step 2 - Build roof Trusses
For a larger building, trusses will need cross beams (ceiling joists) fixed to create a stable construction for the roof.
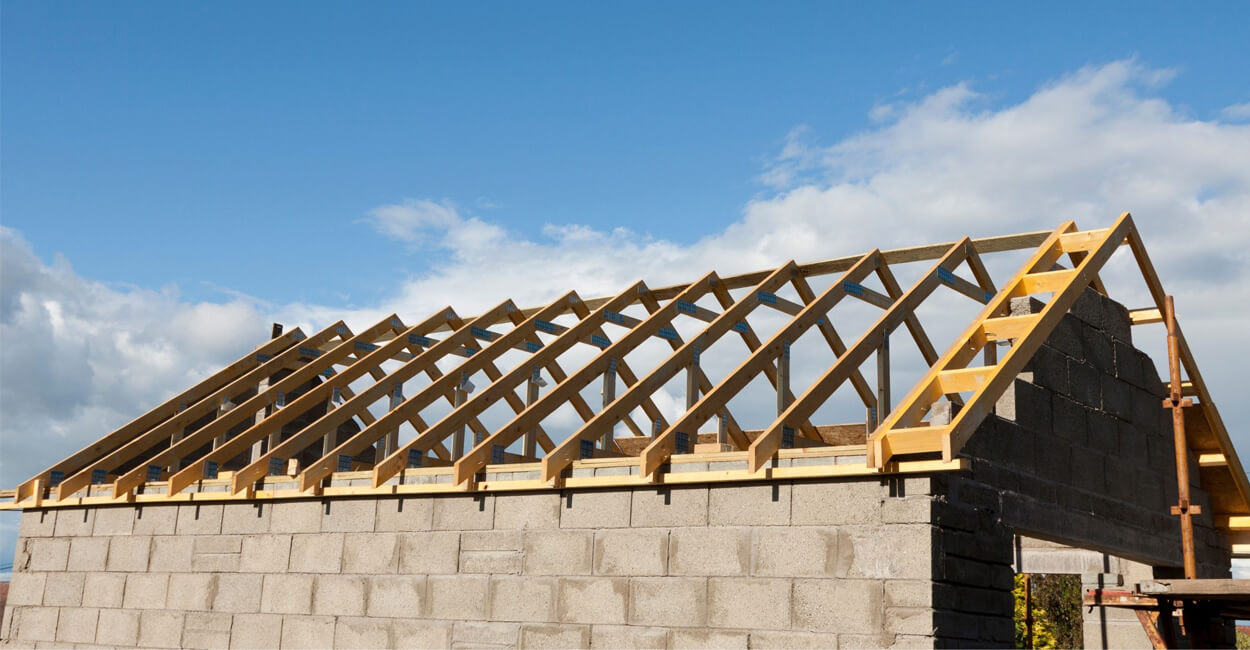
Ideally, each truss should be 60cm (24ft) apart at most. This can be as low as 30cm (12ft) or 40cm (16ft), where required, to provide adequate support for the purlins.
Collar ties and be installed across the span of the apex section of the truss construction, fixed from rafter to rafter from the ridge board.
Step 3 - Install braces
For larger buildings, trusses will need to be braced to provide temporary support to then install the trusses. Nail a 2" by 6" timber support beam to the centre of the end truss down to the ground for a central brace.
Step 4 - Include purlins
The steps involved in installing a garage roof with a dual pitch are similar to a single, with the opposite side being a mirror image. Be sure that the first and second row of purlins will align with the first and second row on both sides with matching dimensions.
Step 5 - Install roofing materials
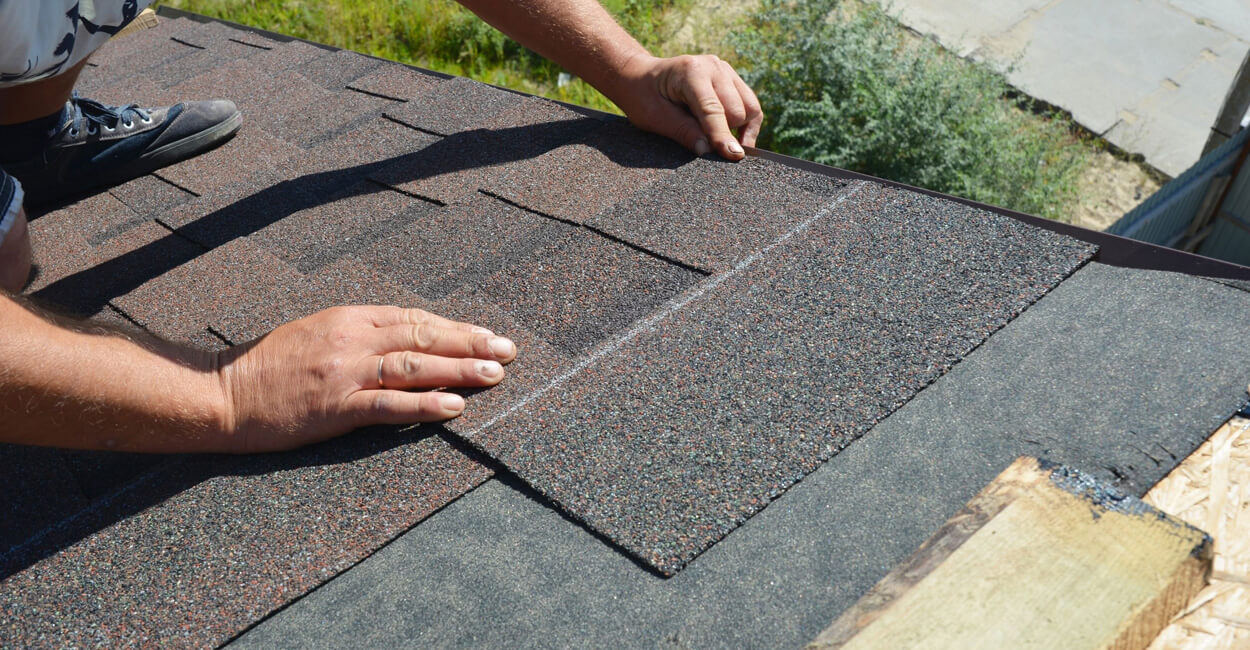
For roofing tiles, be sure to follow the product guidelines for adequate overlap. It is worth obtaining a few quotes from local contractors before proceeding.
How to build pitched roofs for an extension
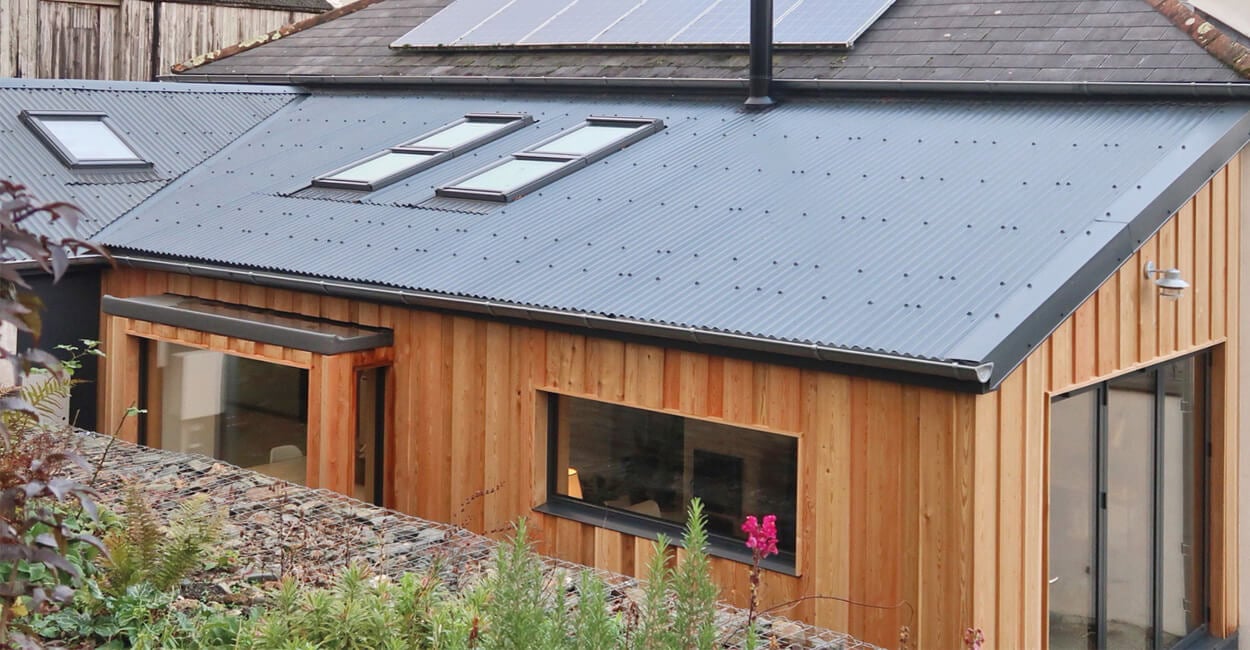
Single pitch or "lean-to"
Step 1 - Check for planning permission
Extensions may require planning permission from your local planning authority. We talk in-depth about planning permission for your roof extensions in our blog. Lean-to roofs are installed against the back wall of a house and can span the length of the entire wall.
Step 2 - Secure your ledger
A ledger board will enable your single-sided roof to connect to your existing structure on the external wall. Be sure to account for your 'height above plate', which includes the height of the rafters once installed plus the height of the rise.
Step 3 - Wall plates
Fix a timber wall plate onto the top of your external walls to allow the rafters to be installed. Wall plates will give a brick wall, for example, a suitable wall plate covering that can be screwed into.
Step 4 - Install rafters
Measure each rafter to include an overhang. Rafters should be placed 24-inches (2 feet) apart at regular intervals to allow intermediate support. Cut your notched bird's mouth to sit onto the wall plate.
Install joist hangers along the ledger to secure your rafters in place.
Step 5 - Roofing materials
For a low-pitch roof, steel Box Profile Roofing Sheets can be installed from a minimum of 4 degrees from the corner upwards across the building structure.
Step 6 - fascia boards
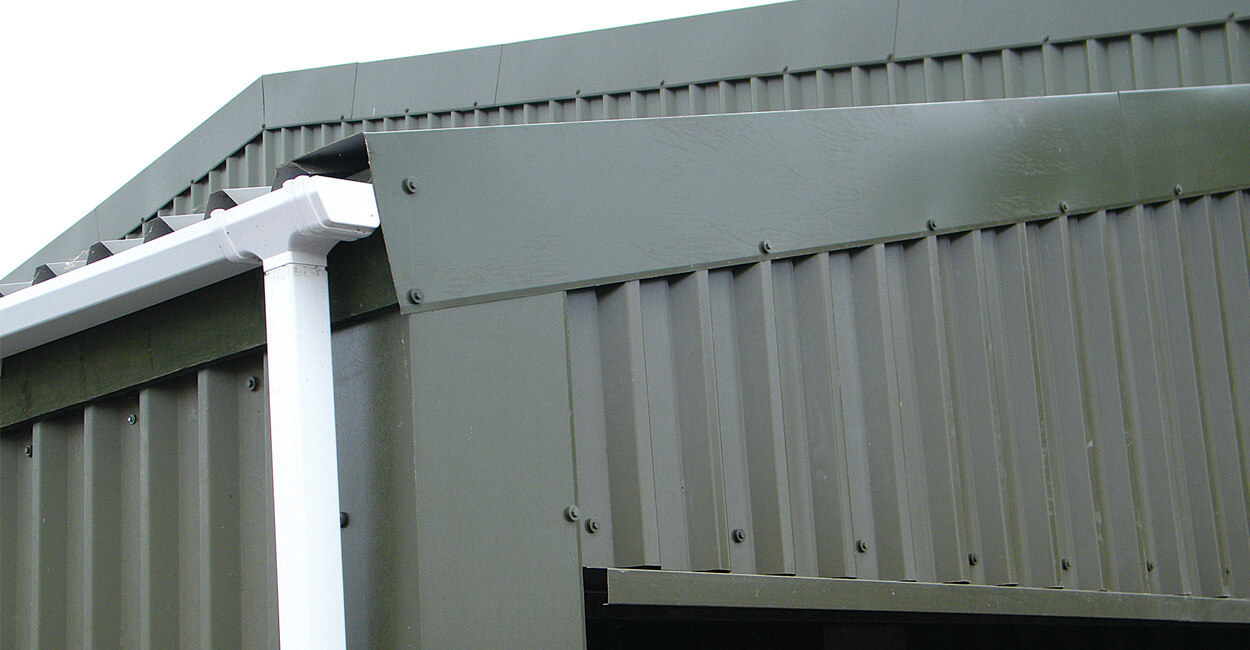
A custom steel fascia trim can be installed to cover a small gap by the roofing with an edging piece. This can help to hide the wall plate onto which the rafters are secured to.
Dual pitch
Dual pitch extensions are installed in a very similar way to the single lean-to roof, but with two pitched roofs and a wall plate on top of both the externally supporting walls.
It is good practice to keep the spacing required for each rafter consistent, working from one edge and moving horizontally.
Common rafter types used in the construction of a building are 2" by 4", 2" by 5" and 2 by 6" timber rafters. The maximum clear span of rafters depends on the size of the rafter and the pitch of the roof.
For more information on span clearances for rafters, we recommend visiting this website. This is important to calculate when considering additional items such as solar panels or ceiling windows.


